today case work will be finished for this Custom Stick. I've assembled the case with a technique which ensures easy assembling and dissassembling of the top and botton plexi. Therefore countersinked screw nuts and threaded caps are used.

Screw nut is countersinked into MDF. This is used to hold the bottom plexi.

50mm screw are used to hold the black bottom plexi.

For the top panel plexi I'm using threaded caps (Gewindeeinsatz) first time. This makes case assembling and disassembling bulletproof.

Screw heads are countersinked into the top panel plexi.

Paper Artwork was cutted with a circle cutter tool. Makes life much more easier.


Paper artwork fits perfectly.

Preview of assembled case.

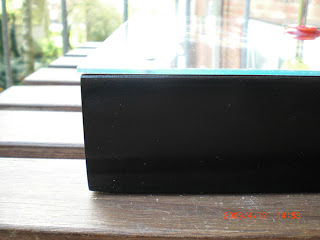
Close-up of edge finish. Thanks to using MDF and sanding with fine grained paper no edges or splitting is visible.
Complete case is glued. Top plexi is fixed with threaded caps in the inner plate. Bottom plexi is mounted via countersinked screw nuts.
3 comments:
Darf ich fragen worauf du gedruckt hast? Ist das eine Folie?
Neee, aber gute Frage, weil ich das eigentlich auf Folie drucken wollte und dann auf Acryl kleben wollte. Davon kann ich nochmal ein Foto einstellen. Ich bin dann aber doch bei Papier 200g geblieben. Das Teil habe ich dann beim Copyshop drucken lassen.
ah okay, danke :)
Sah so dick aus, aber das erklärt sich wohl durch die 200g.
Post a Comment