Showing posts with label Pinball. Show all posts

Saturday, 21 August 2021

Pinball Williams wpc getaway restoration, starting point part 2


Project photo 1: Pinball Williams wpc getaway restoration, starting point part 2

Project photo 2: Pinball Williams wpc getaway restoration, starting point part 2

Project photo 3: Pinball Williams wpc getaway restoration, starting point part 2
Project photo 4: Pinball Williams wpc getaway restoration, starting point part 2
Project photo 5: Pinball Williams wpc getaway restoration, starting point part 2
Project photo 6: Pinball Williams wpc getaway restoration, starting point part 2
Project photo 7: Pinball Williams wpc getaway restoration, starting point part 2
Project photo 8: Pinball Williams wpc getaway restoration, starting point part 2
Project photo 9: Pinball Williams wpc getaway restoration, starting point part 2
Project photo 10: Pinball Williams wpc getaway restoration, starting point part 2
Project photo 11: Pinball Williams wpc getaway restoration, starting point part 2
Project photo 12: Pinball Williams wpc getaway restoration, starting point part 2
Project photo 13: Pinball Williams wpc getaway restoration, starting point part 2
Project photo 14: Pinball Williams wpc getaway restoration, starting point part 2
Project photo 15: Pinball Williams wpc getaway restoration, starting point part 2

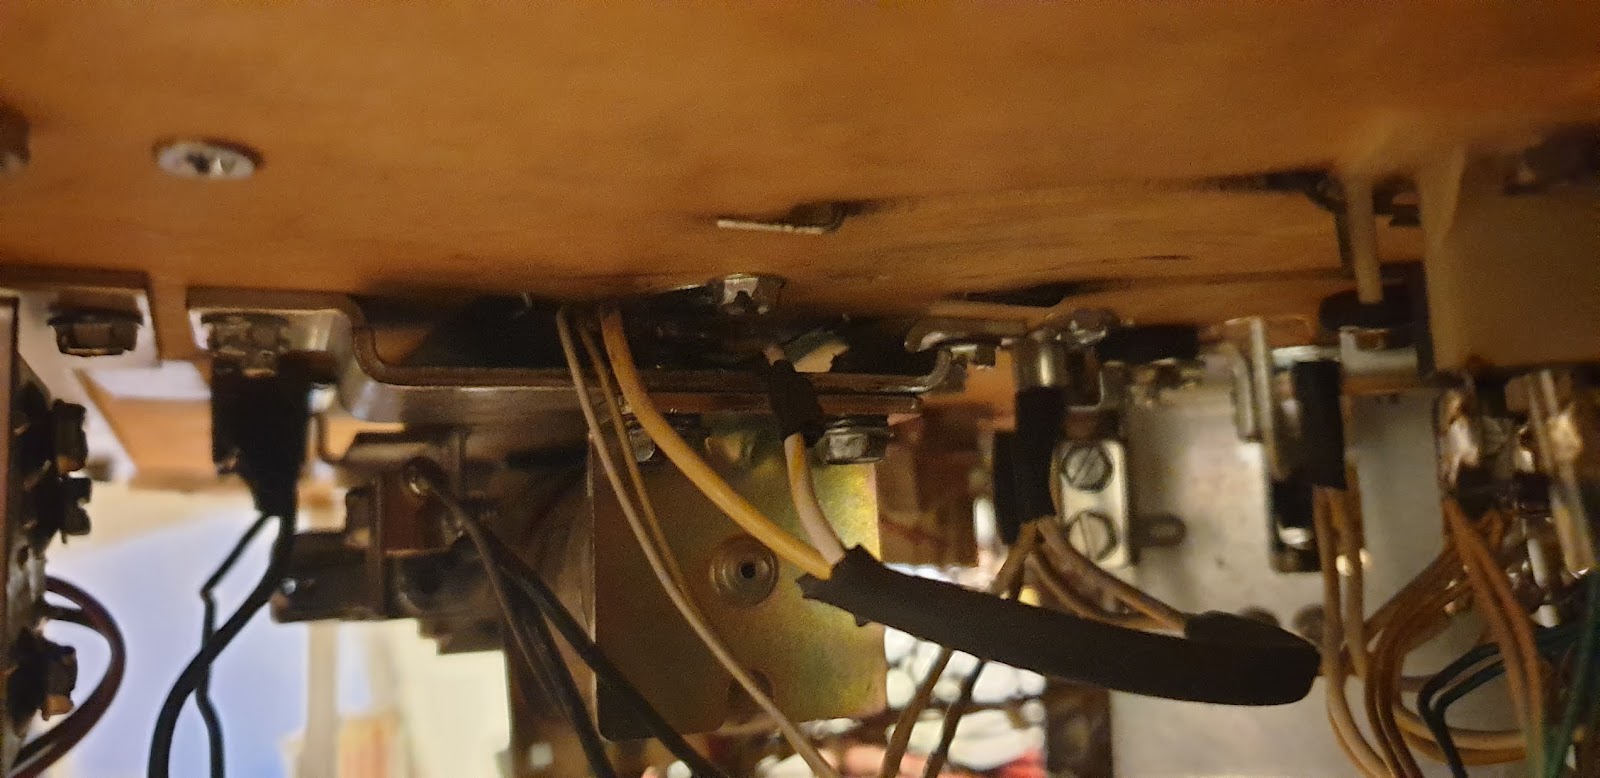
I'm starting from bottom of the playfield and dissamble all parts. I'll go in the steps and work on side to the top.

This pics was taken to ensure how the parts fits and build together. 

Additional notes

Restoration note: photos are useful when taking apart a WPC playfield because they preserve the order and orientation of parts. Work in small sections, label connectors and keep hardware grouped by location. This entry documents the starting disassembly of a Williams Getaway; it is a project record rather than a complete service manual.

Pinball Williams wpc getaway restauration


Project photo 1: Pinball Williams wpc getaway restauration

Project photo 2: Pinball Williams wpc getaway restauration

Project photo 3: Pinball Williams wpc getaway restauration

Project photo 4: Pinball Williams wpc getaway restauration

Project photo 5: Pinball Williams wpc getaway restauration

Project photo 6: Pinball Williams wpc getaway restauration


Project photo 7: Pinball Williams wpc getaway restauration


Project photo 8: Pinball Williams wpc getaway restauration


Project photo 9: Pinball Williams wpc getaway restauration

Project photo 10: Pinball Williams wpc getaway restauration

Project photo 11: Pinball Williams wpc getaway restauration

Project photo 12: Pinball Williams wpc getaway restauration

Project photo 13: Pinball Williams wpc getaway restauration

Project photo 14: Pinball Williams wpc getaway restauration

Project photo 15: Pinball Williams wpc getaway restauration

Project photo 16: Pinball Williams wpc getaway restauration

Project photo 17: Pinball Williams wpc getaway restauration

Project photo 18: Pinball Williams wpc getaway restauration

Project photo 19: Pinball Williams wpc getaway restauration


Project photo 20: Pinball Williams wpc getaway restauration


Project photo 21: Pinball Williams wpc getaway restauration
Project photo 22: Pinball Williams wpc getaway restauration

Project photo 23: Pinball Williams wpc getaway restauration

Yeah, don't know what to say. Lots of love is needed. Gi is not working, cut cable, burned connectors, mechanics are not working due to dirt and humidity. 

Lots and lots of love... 


Additional notes

The initial inspection found a non-working GI circuit, damaged or cut wiring, and mechanisms affected by dirt and humidity. Before powering a machine after storage or transport, inspect connectors and wiring and diagnose faults before replacing parts. This is a restoration diary, not a substitute for the machine's service manual.

Friday, 13 August 2021

Spiderman fluorescent plexis for vuk sandman and doc ock

Hey, my plexis for the bow on my stern spiderman pinball at the vuk sandman and doc ock was broken. So I made new ones.


Project photo 1: Spiderman fluorescent plexis for vuk sandman and doc ock
Project photo 2: Spiderman fluorescent plexis for vuk sandman and doc ock

Project photo 3: Spiderman fluorescent plexis for vuk sandman and doc ock

Project photo 4: Spiderman fluorescent plexis for vuk sandman and doc ock

Project photo 5: Spiderman fluorescent plexis for vuk sandman and doc ock

Project photo 6: Spiderman fluorescent plexis for vuk sandman and doc ock

Project photo 7: Spiderman fluorescent plexis for vuk sandman and doc ock

I think they look fresh. Look at our shop page at https://arcadeforge.net 


Additional notes

For replacement VUK plastics, keep the original part and take measurements before making a template. Check the fit and clearance around the diverter and nearby moving parts before final assembly. The photos here document a Spider-Man pinball repair; they do not specify a material thickness or a universal template.

Tuesday, 10 August 2021

Pinball restoration. Best of worse


Project photo 1: Pinball restoration. Best of worse

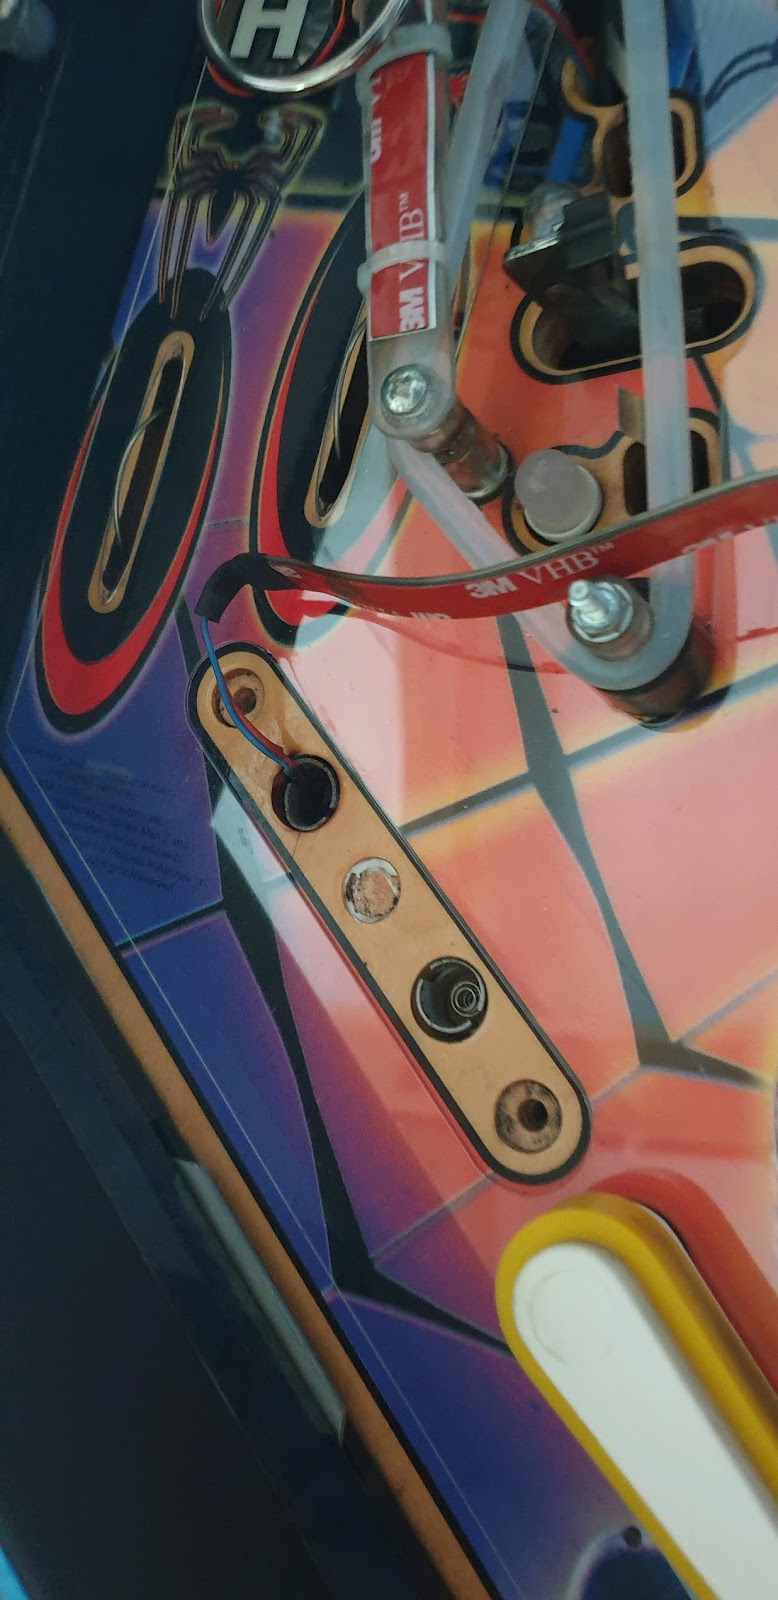
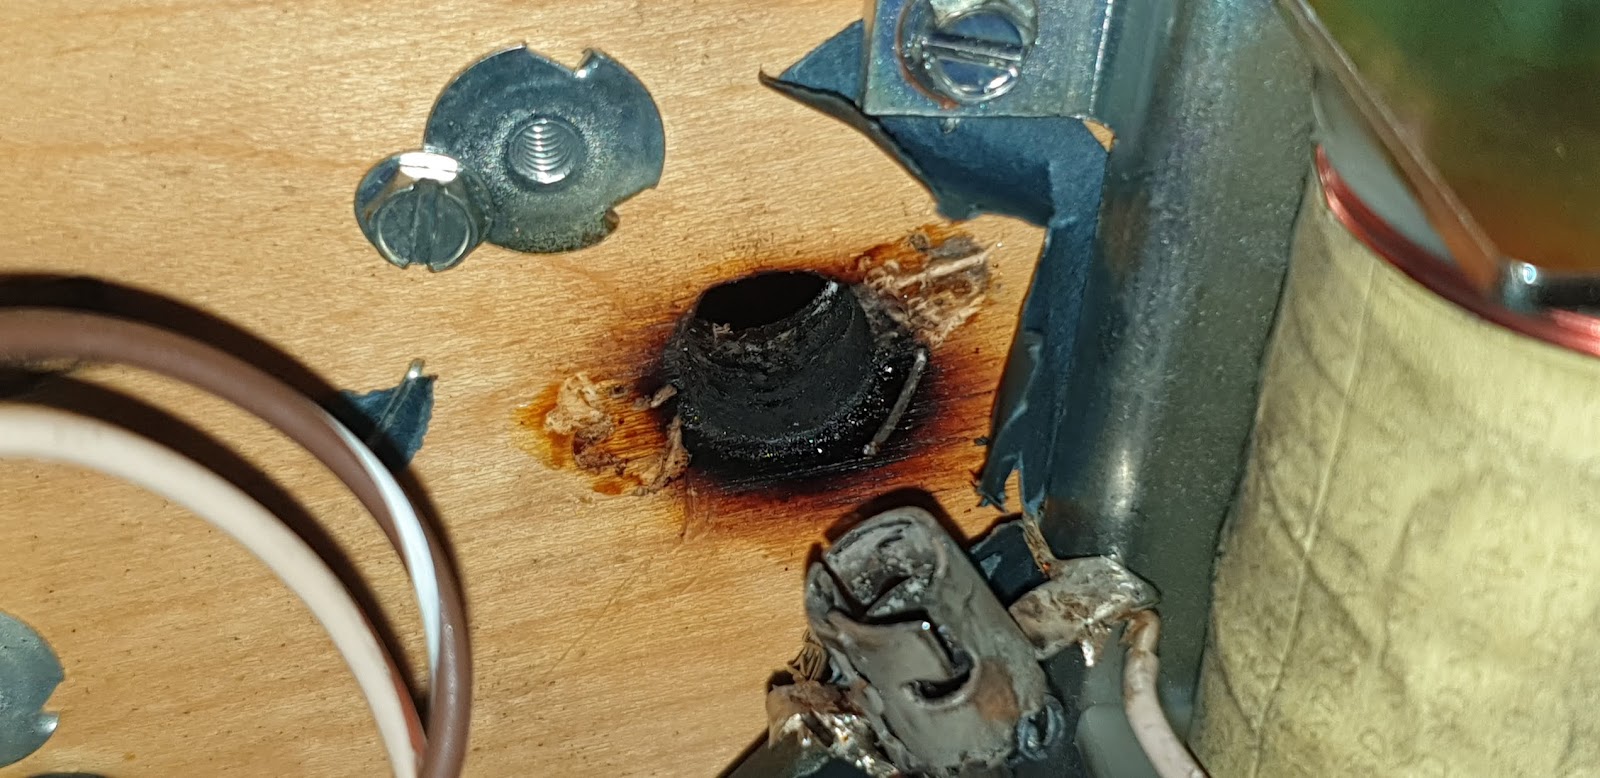
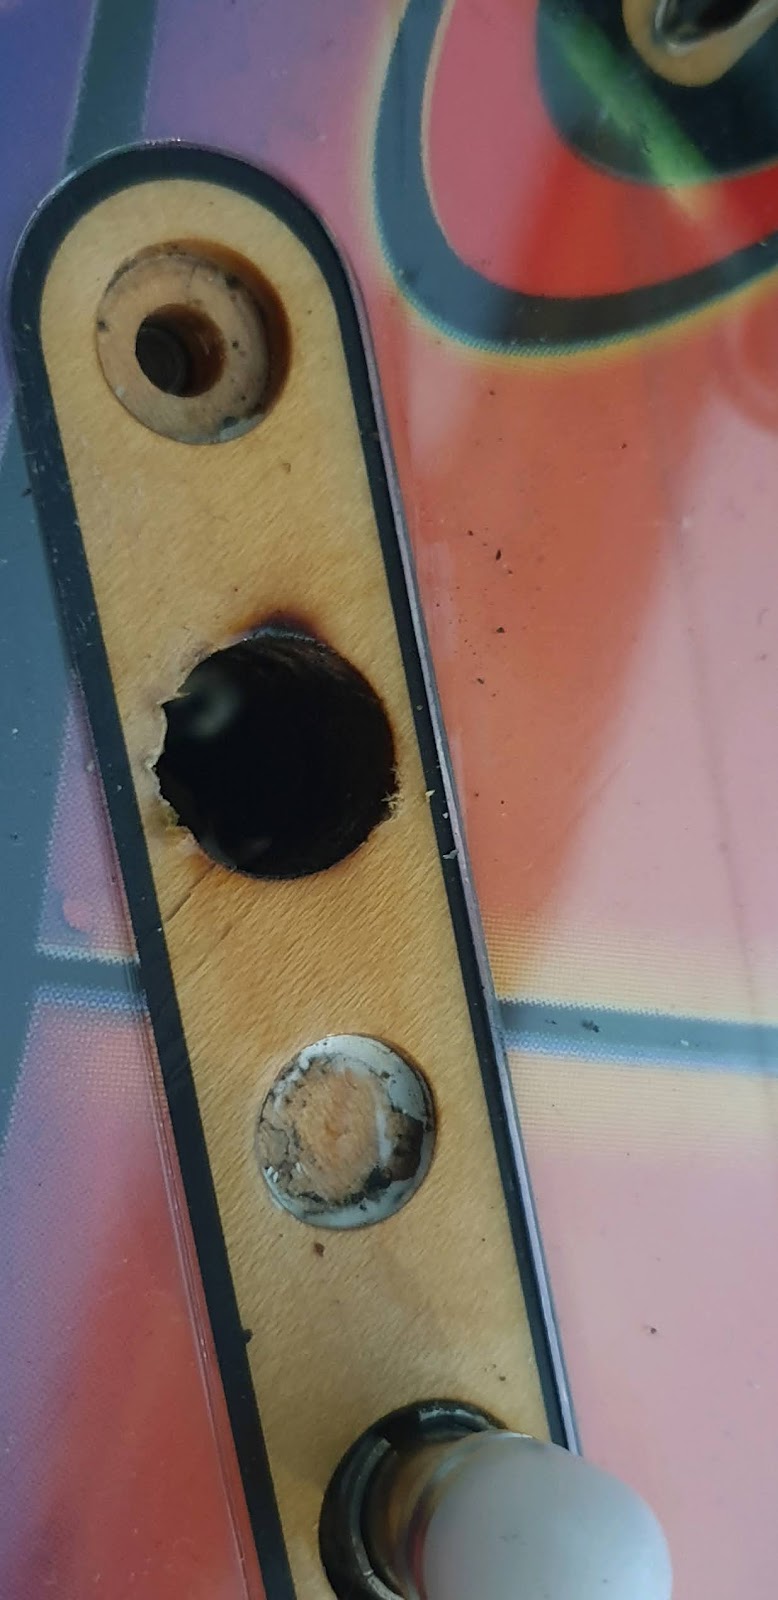
OK, this is my spiderman pinball. I was just wondering about a smokey smell and checked general illumination. The gi was replaced by led stripes. The old bulb connect was damaged and squeezed. So it got very very hot. 

Project photo 2: Pinball restoration. Best of worse
Project photo 3: Pinball restoration. Best of worse

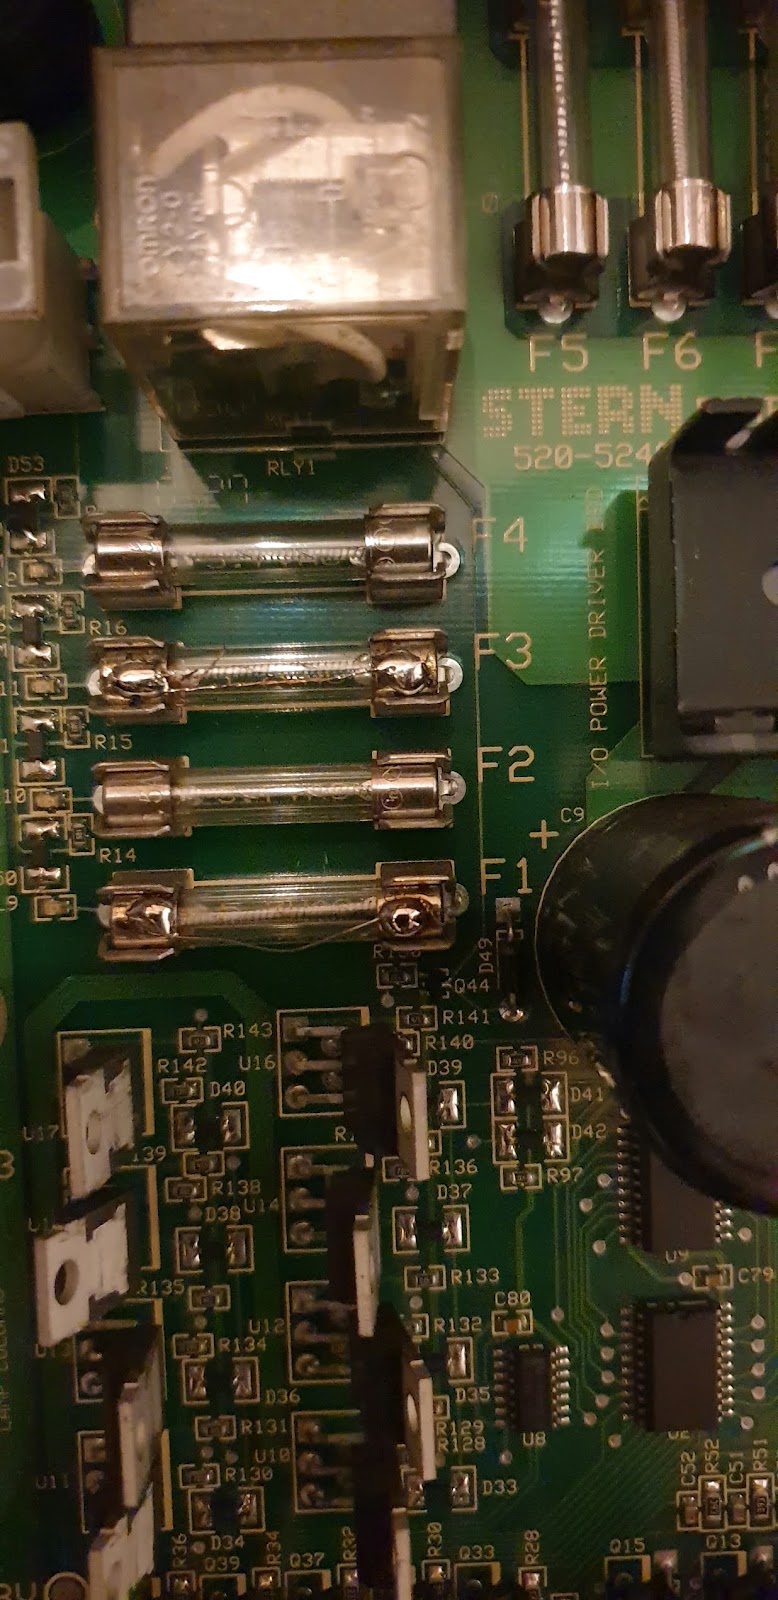
Why did the fuse not blow up?

Project photo 4: Pinball restoration. Best of worse

The fuses was bridged with solder and a wire. 

I mean... 

OK. The other half of the gi was not working at all. 


Project photo 5: Pinball restoration. Best of worse

Of course not, when the cables are ripped off. 

50% of the gi bulb was missing, the other half of the bulbs was dark ouz or blown up. 

How was this solved by the last person who cared about the machine. Yes, home made pin stadium. Sure, the pin is dark, so put led stripes in it. 

What did we learn? 

If you ever see home made pin stadium that did not fit to the overall status of the pin, one can be almost certainly sure, that the pin is a blender. 


Additional notes

Safety lesson: a fuse bridged with solder or wire cannot protect the circuit as intended. Do not operate a machine with a bypassed fuse; fit only the specified fuse after the underlying fault has been diagnosed. The hot or burnt GI connector described here is a warning sign that needs proper repair, not a cosmetic fix.